Requirements
- PHP 7.2.5 or greater
- PHP modules (enabled by default, ask your host if necessary): pdo and pdo_mysql, or the mysqli extension
- MySQL version 5.5 or greater, or MariaDB
- SEOPress Free version 5.7 min
Install Matomo On-Premise on your own server
The first step is to install Matomo on your server by following the official documentation. It’s pretty easy with their installation wizard, and very similar to the WordPress one.
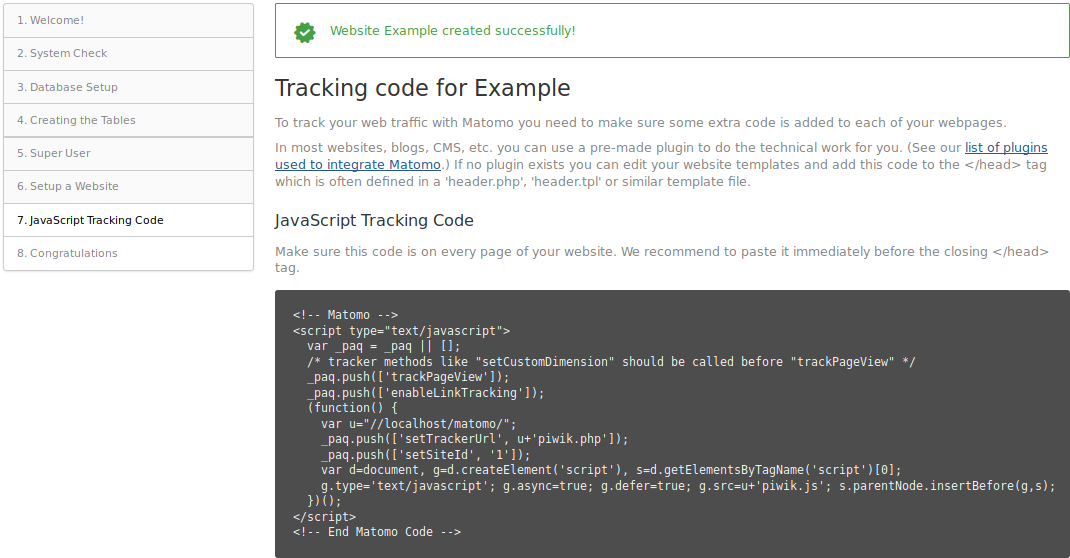
The only important thing to note: in step number 7 of the wizard, don’t worry about adding the tracking code. Just skip this step to complete the installation.
Use SEOPress with the self-hosted version of Matomo
Now you have installed Matomo, go to your WordPress admin of the site you want to track visitors with Matomo.
Make sure SEOPress is installed and activated (version 5.7 is required).
Then go to SEO, Analytics, Matomo tab.
Check these two options:
- Enable Matomo tracking
- Yes, self-hosted installation
Enter the URL where Matomo is installed to Enter your tracking ID field, eg: matomo.example.com.
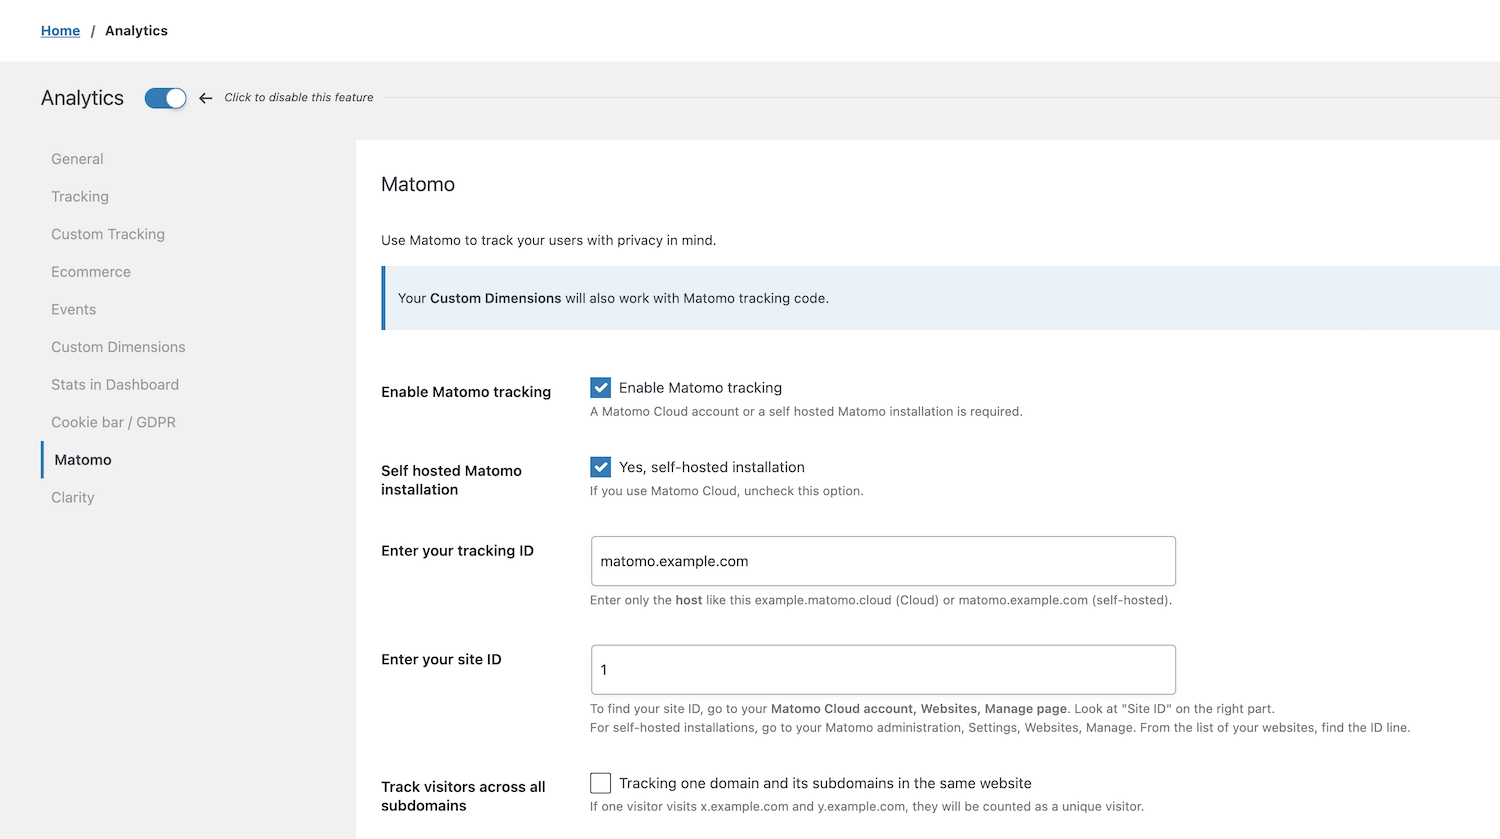
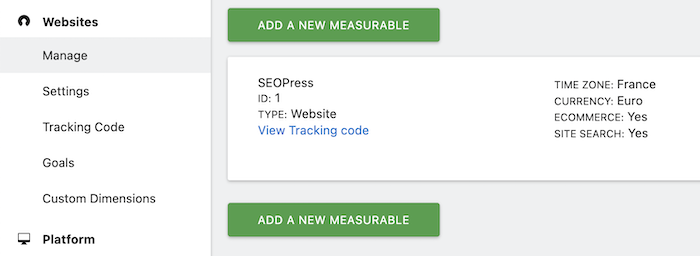
Finally enter your site ID. To find it, go to your Matomo administration, click Settings (wheel icon from the top right corner of the screen), Websites, and Manage.
From the websites list, copy and paste your ID.
Save changes.
Clear your cache if necessary.
That’s it!
Test your tracking code
By using another browser or private browsing, navigate on your site then check from Matomo dashboard, Real time page if anything is working as expected.
If the user consent is enabled from SEO, Analytics, Cookie bar / GDPR tab, make sure to click the Accept button too.
